Felt-tip marker mode
Let's draw a cartoon axolotl swimming
Treat this as one playful practice round: sketch the idea loosely, simplify the shapes, then commit with confident marker outlines and bright fills.
-
01
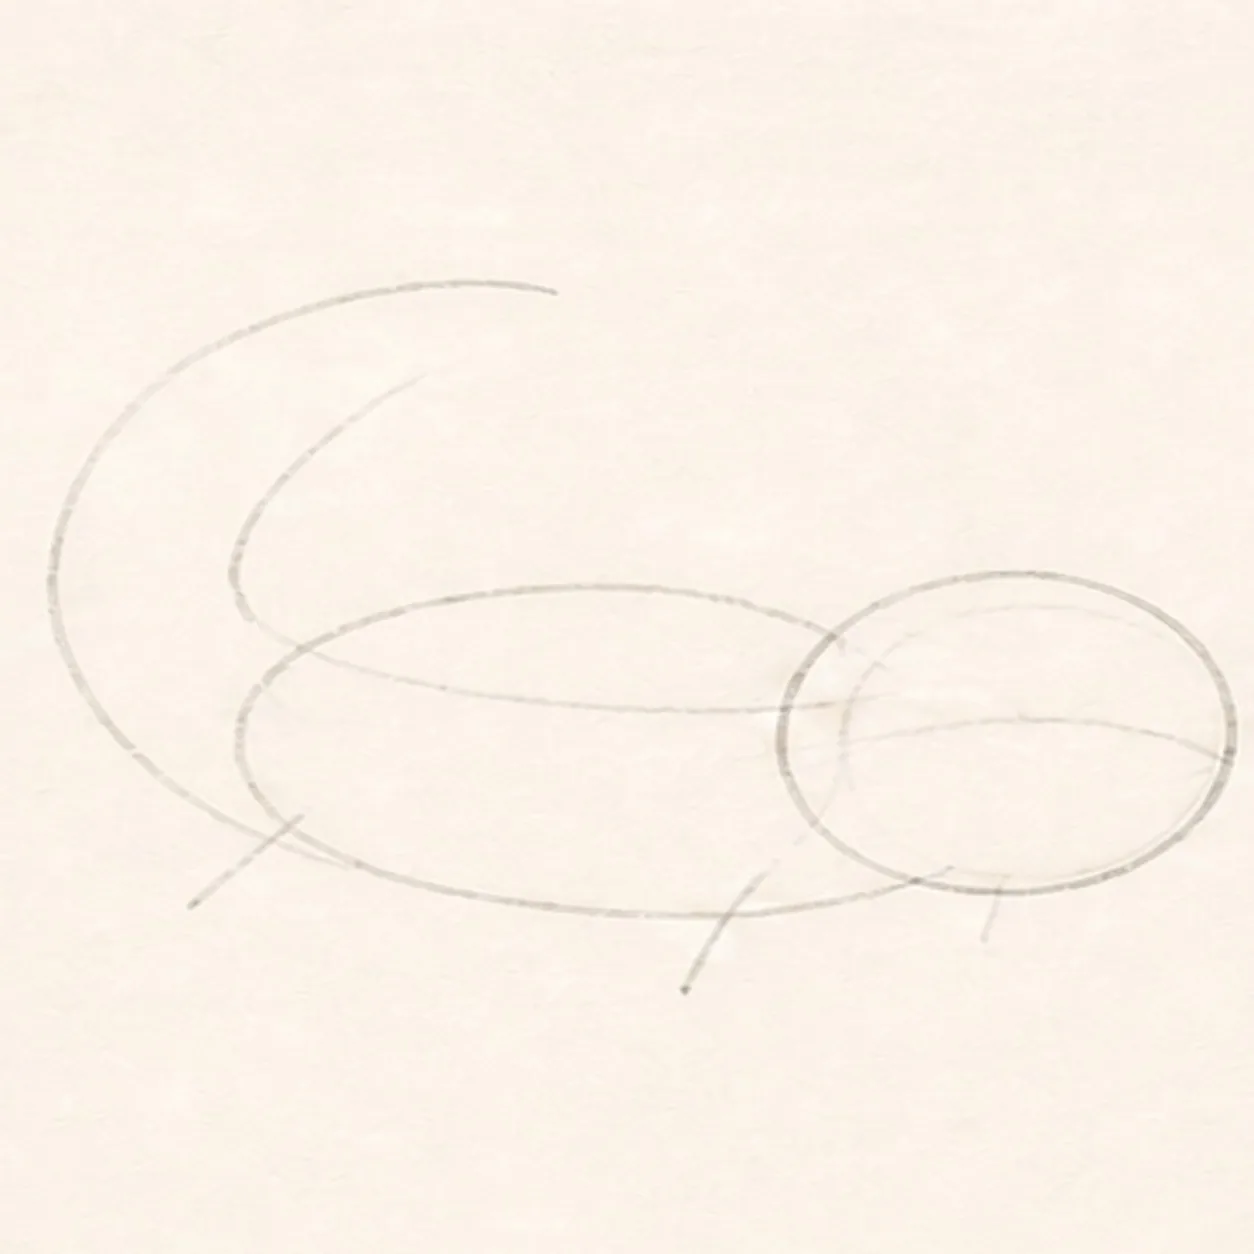
Map the swimming curve
Use pale pencil for one head ellipse, one long body bean, a sweeping C-shaped tail gesture, and a centerline. Add only tiny attachment ticks for the future limbs and gills; leave the face and all accents for later.
Marker tip: Ghost the head-to-tail sweep twice before touching down, then compare the open paper above and below the three primitive masses. This frame should still look like raw construction, not a faint finished axolotl.
-
02
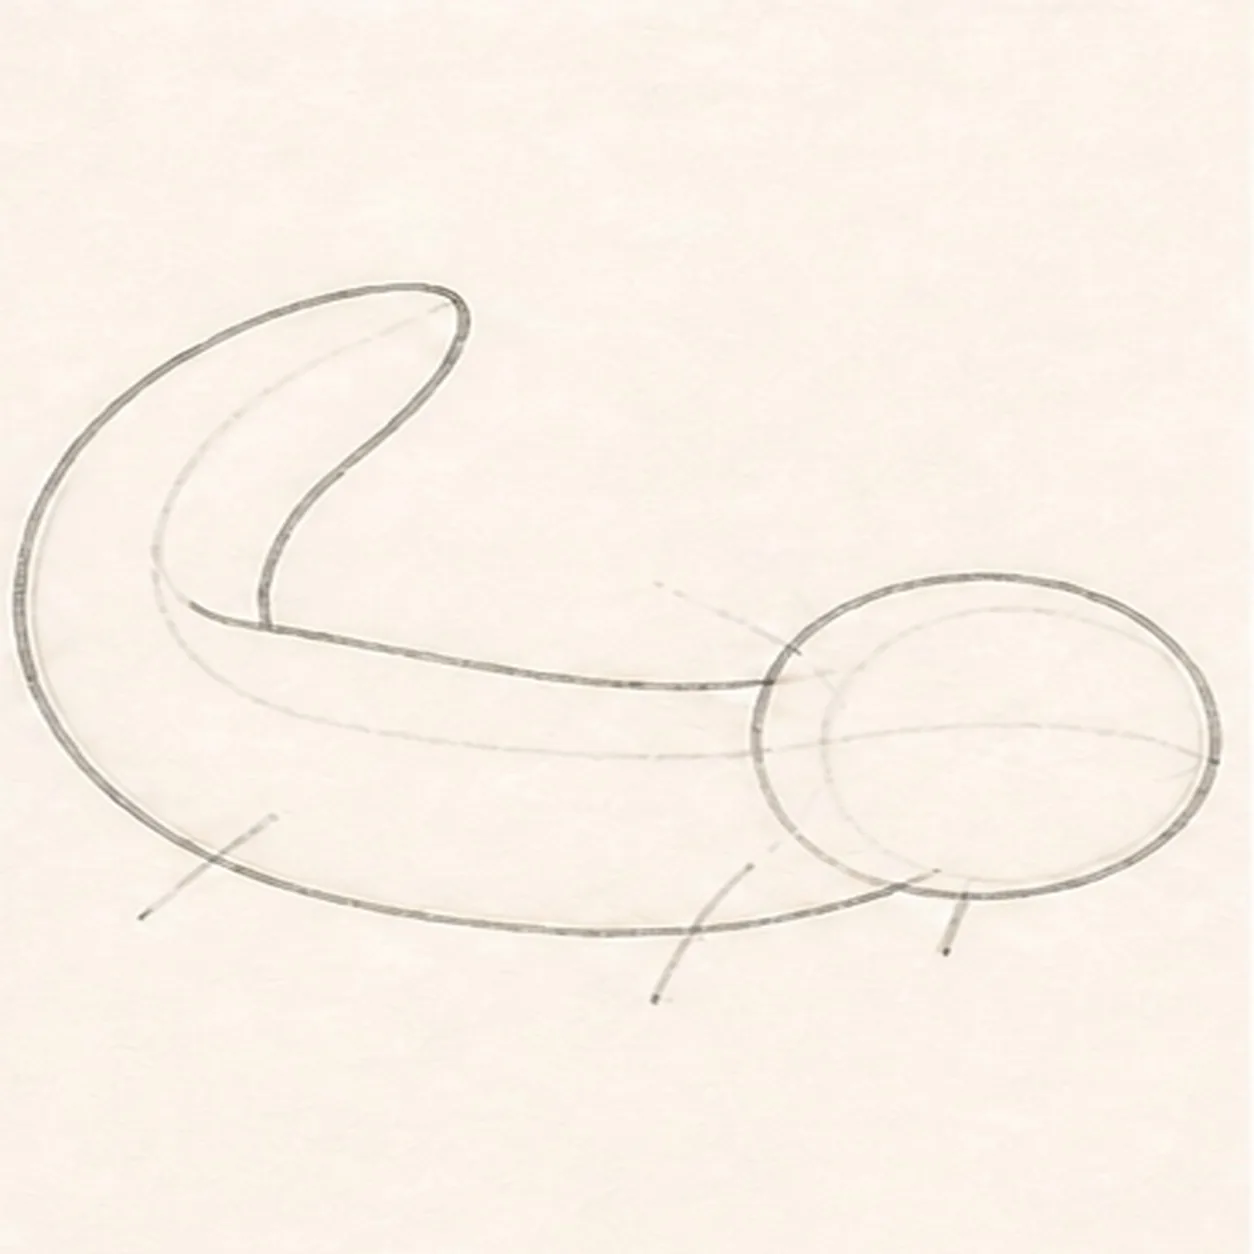
Wrap the head body and tail
Connect the head ellipse, body bean, and tail gesture into one loose right-facing silhouette with a rounded head, tapered body, and broad curling tail fin. Keep the pale masses visible underneath and leave limbs and gills as simple route lines.
Marker tip: Pull the belly and back as two relaxed curves, then rotate the page for the broad tail fin. Stop the body contour at the small attachment ticks so the next shapes can join without erasing keeper lines.
-
03
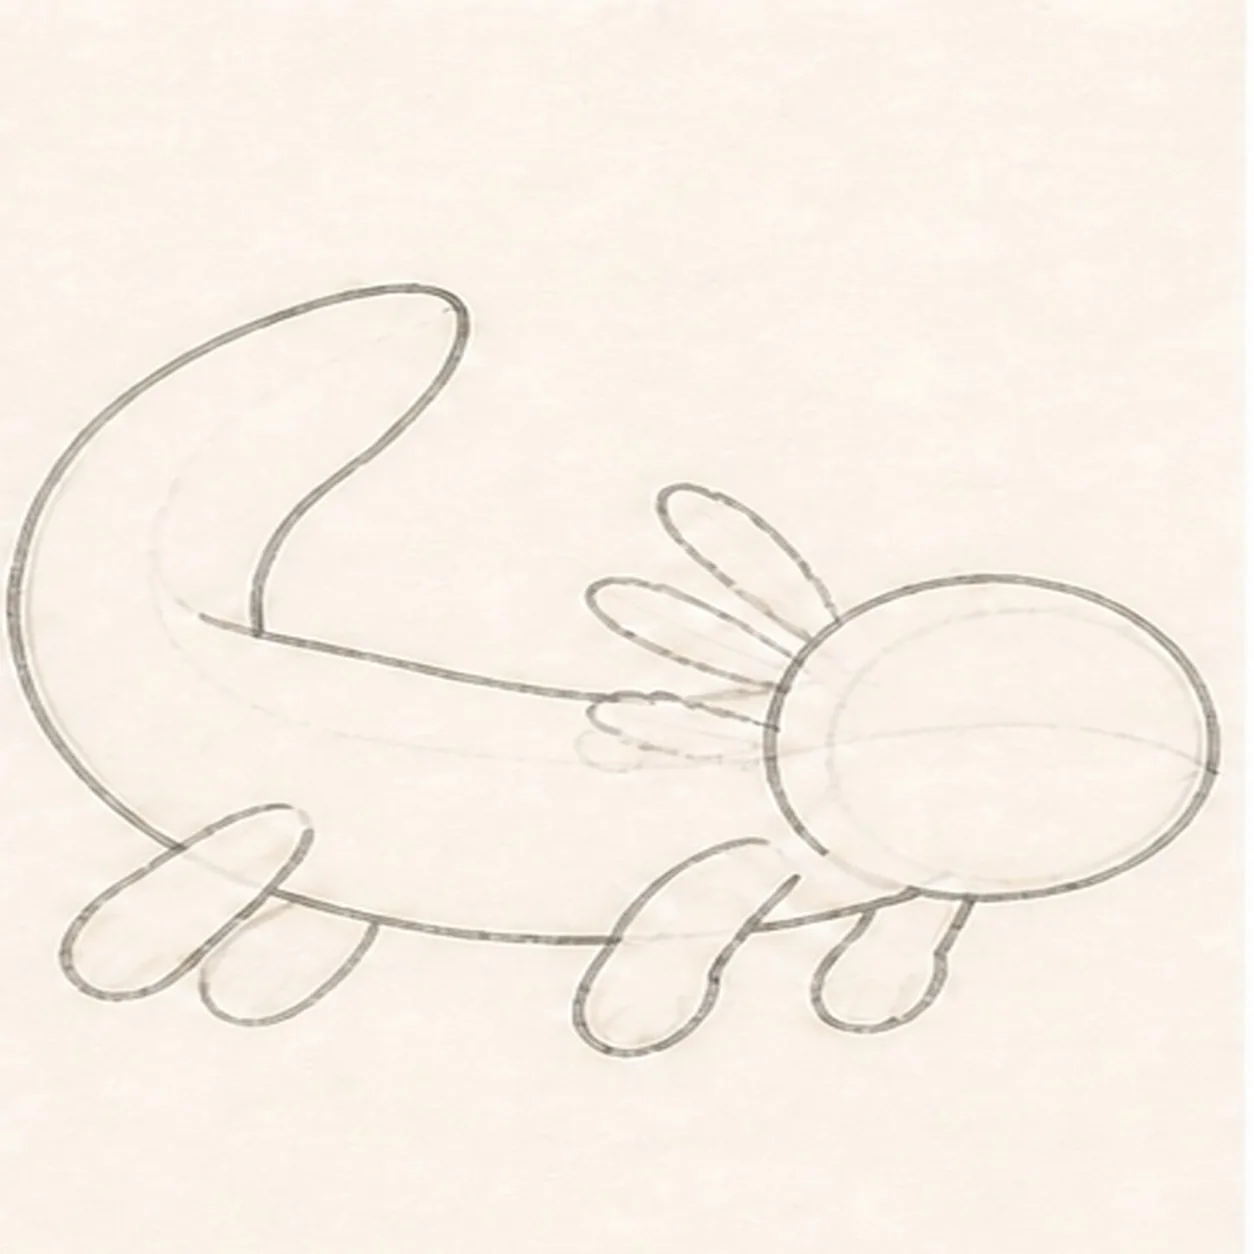
Fit the legs and gill fan
Add rough envelopes for exactly four small swimming limbs and exactly three external gill stalks. Use simple mitten and leaf masses for now; toe splits, feathery edges, and the face still come later.
Marker tip: Place the two smaller far limbs first and let them tuck behind the body, then add the two near limbs on top. Fan three plain gill leaves from the back of the head at clearly different angles.
-
04
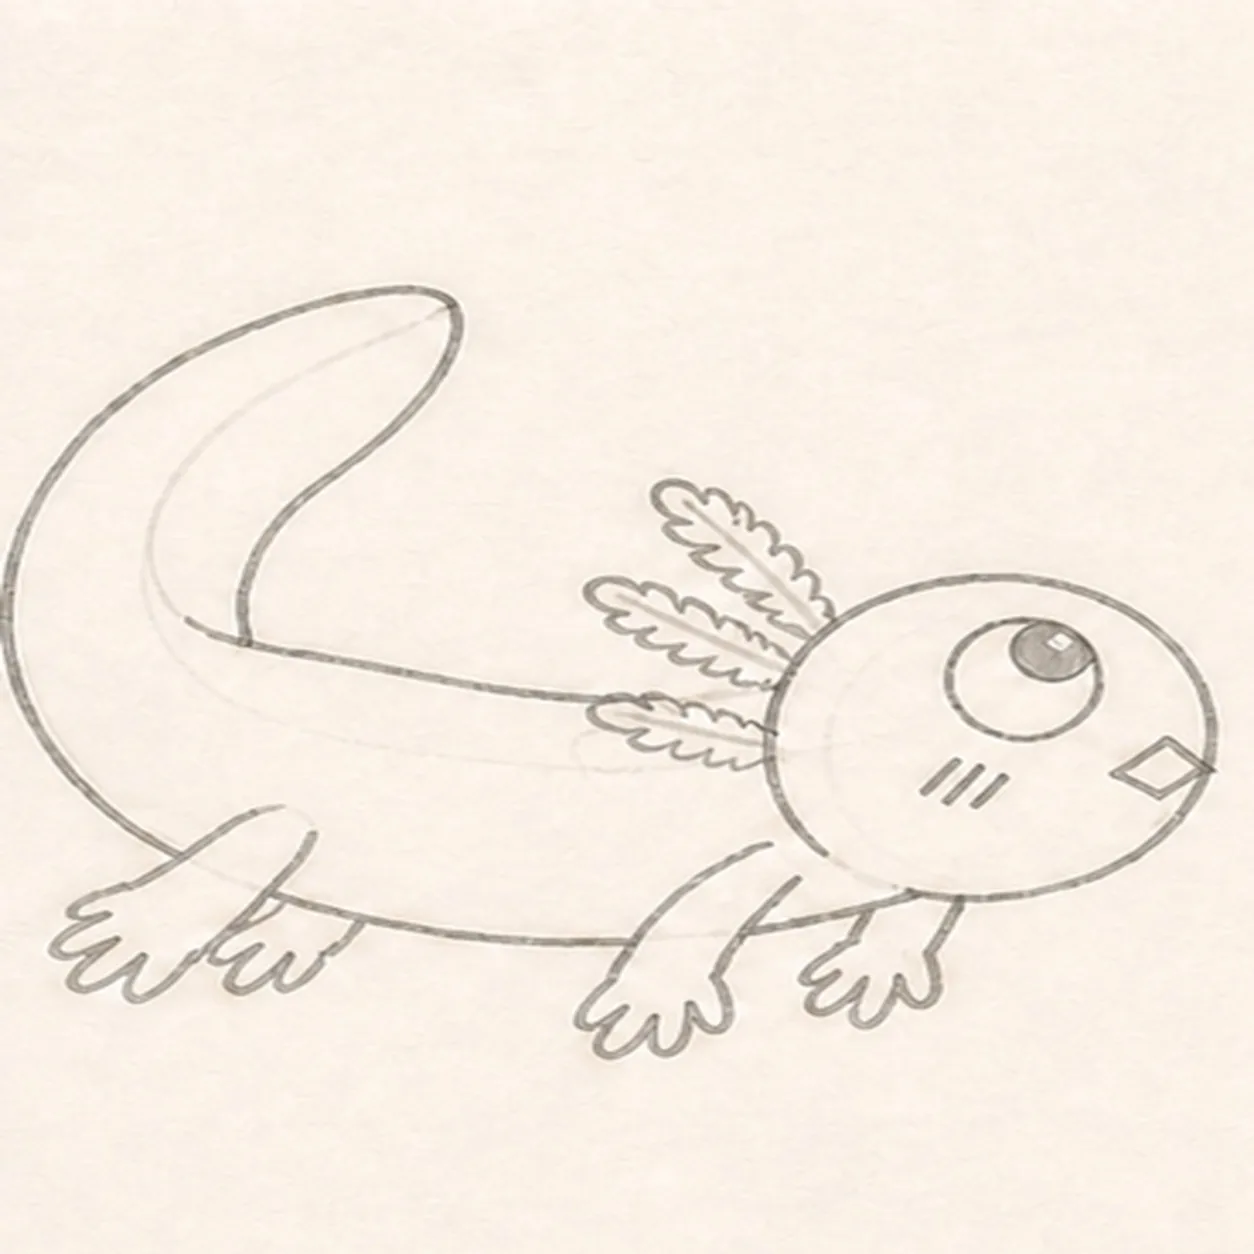
Give the axolotl a surprised face
Add one oversized round eye with its pupil high and looking upward, one tiny open diamond mouth, exactly three short cheek hatches, and the tail-fin seam. Split the four mitten ends into toes and feather the same three gill edges.
Marker tip: Place the pupil high in the eye before darkening it, then keep the diamond mouth small and off-center. Refine the appendages you already built without changing their count, position, or overall mass.
-
05
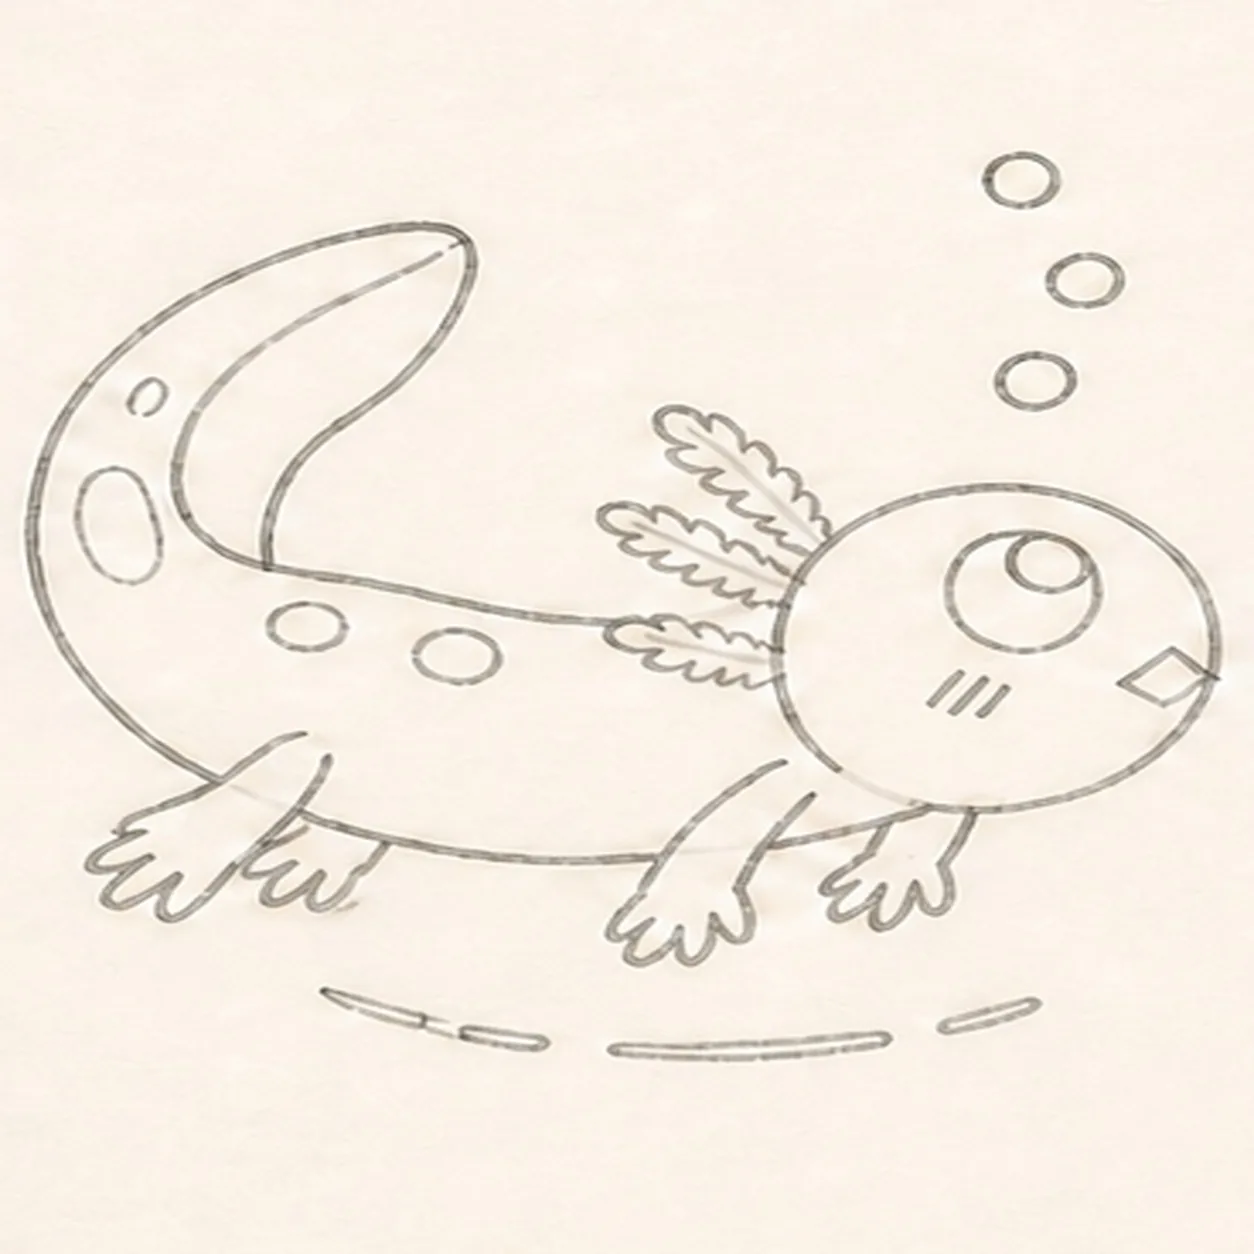
Add the spots bubbles and highlights
Add exactly two dorsal spots, exactly three separate bubbles, two open-paper oval highlights, and the reserved broken water-shadow swoosh while preserving the anatomy and expression.
Marker tip: Space the two spots along the body curve and stack the three bubbles with uneven gaps. Keep both tail highlights open and break the shadow into short pieces so none of these accents becomes a border around the character.
-
06
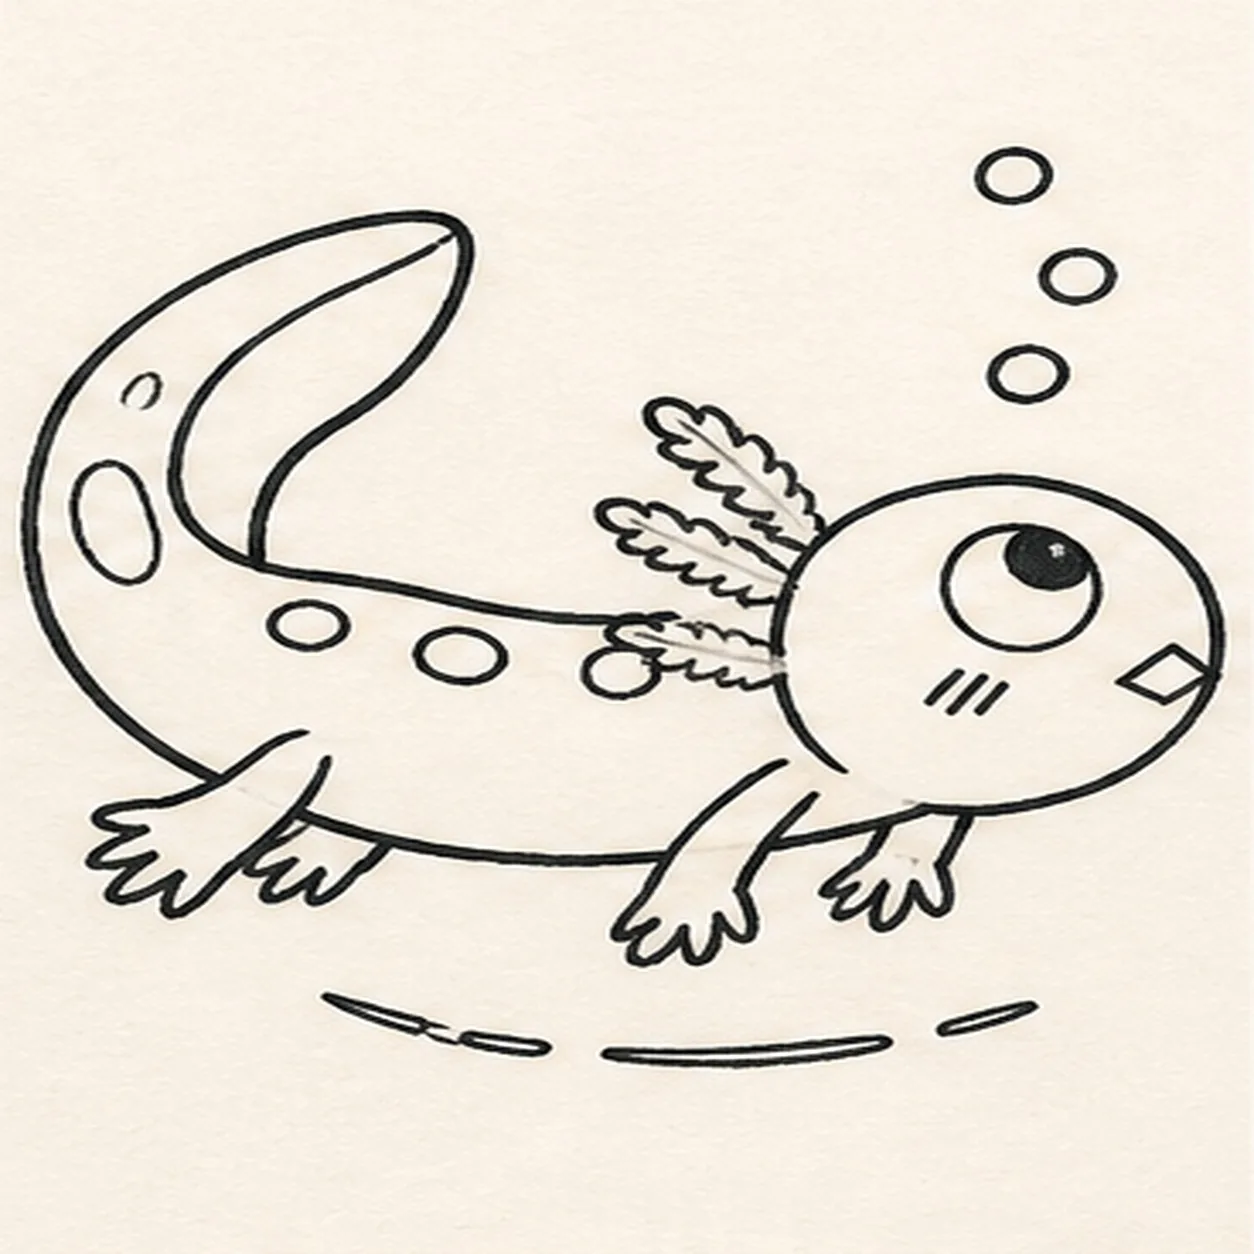
Ink the underwater contours
Trace only the established axolotl, four limbs, three gills, expression, two spots, three bubbles, two highlights, tail seam, and shadow with thick, slightly wobbly black felt-tip.
Marker tip: Ink the small gill leaves, fingers, face, and bubbles first, let them dry, then rotate the page for the long body and tail curves. Give the outside silhouette the heaviest line and keep the cheek hatches and tail seam lighter.
-
07
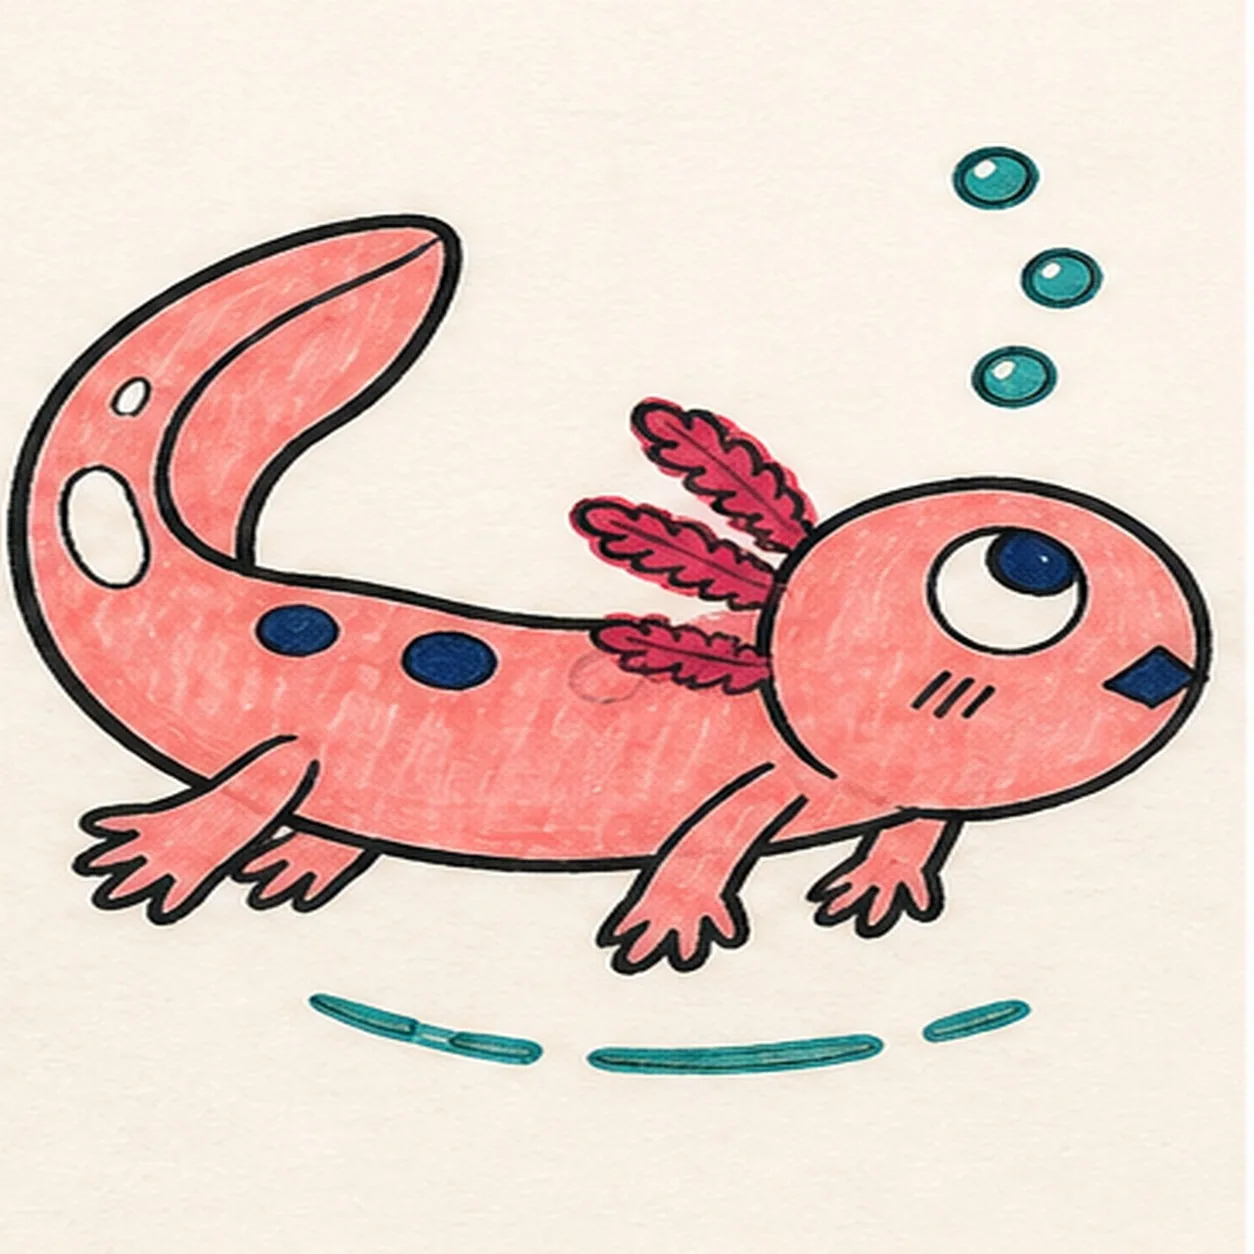
Fill the lagoon color
Fill the established body coral pink, all three gill stalks raspberry, eye mouth and two spots deep navy, and three bubbles plus broken shadow teal while preserving both paper highlights and visible felt-tip streaks.
Marker tip: Pull coral strokes along the body and around the tail curl instead of straight across them. Let the raspberry and navy details dry before coloring beside them, and work around both paper highlights rather than adding white later.
-
08
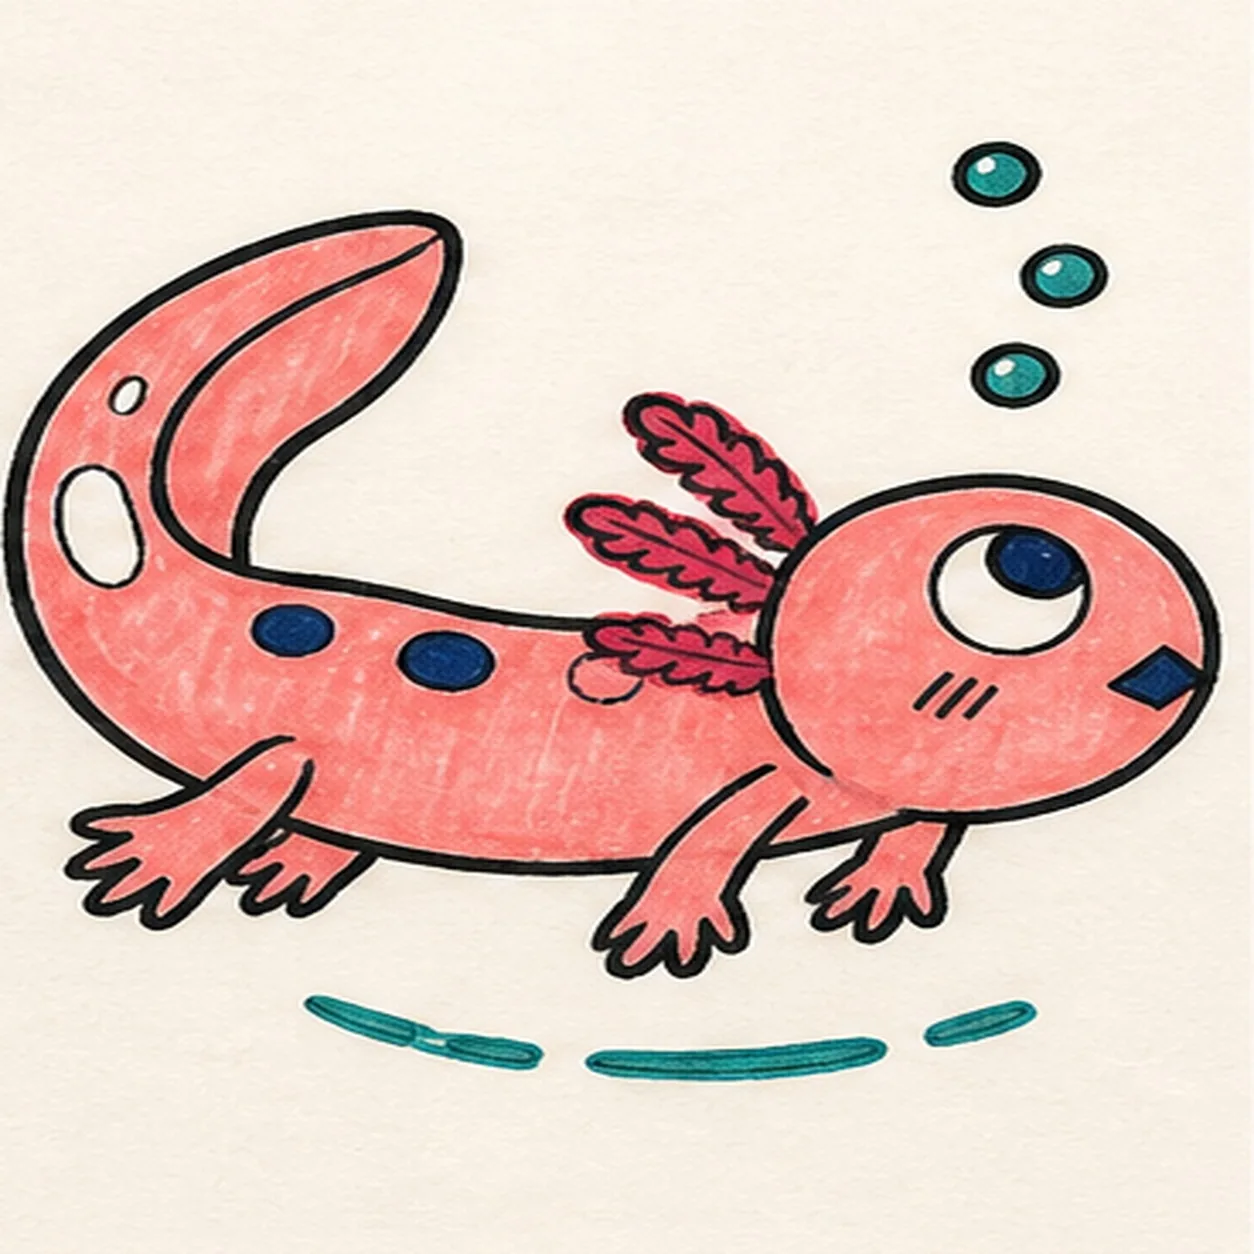
Send the axolotl swimming
Strengthen selected established black contours, even the same limited marker fills, clarify both paper highlights, and deepen only the existing broken water-shadow swoosh.
Marker tip: Count four limbs, three gills, one eye, one diamond mouth, three cheek hatches, two spots, three bubbles, and two highlights before stopping. Change the colors or eye direction in your own version if you like, but keep the swimming curve and handmade marker grain.